
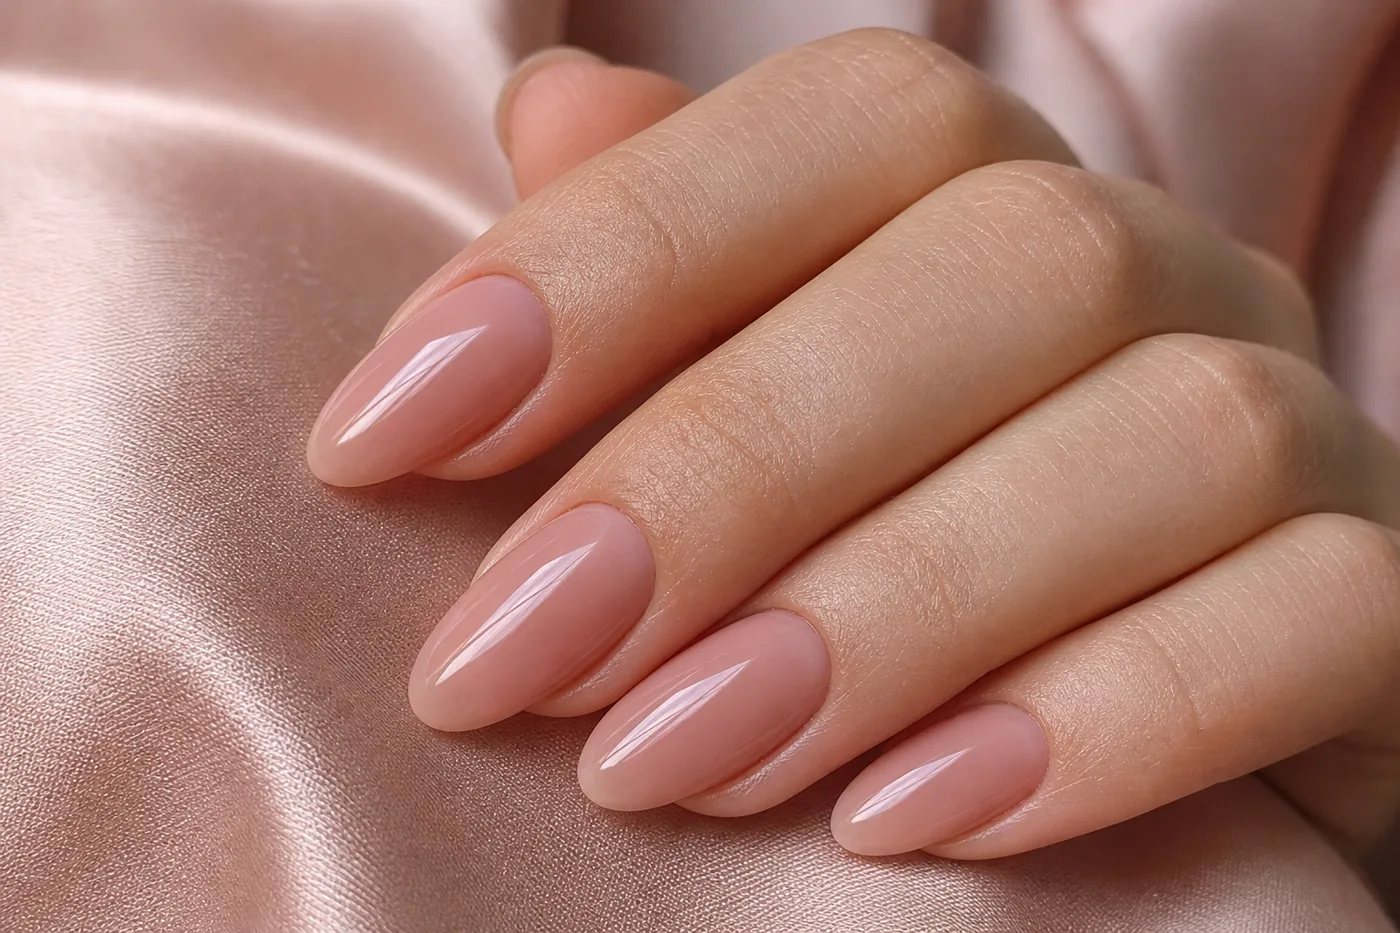
If you’ve scrolled past nails that look almost unreal – polish sitting right against the skin, no visible gap, cuticles so clean they look airbrushed – you’ve probably seen a Russian manicure. It’s one of the most searched nail techniques right now, and also one of the most misunderstood.
In this guide we explain what a Russian manicure actually is, how a nail technician does it, how long it lasts, and – most importantly – what to watch out for so your natural nails stay healthy.
What is a Russian manicure?
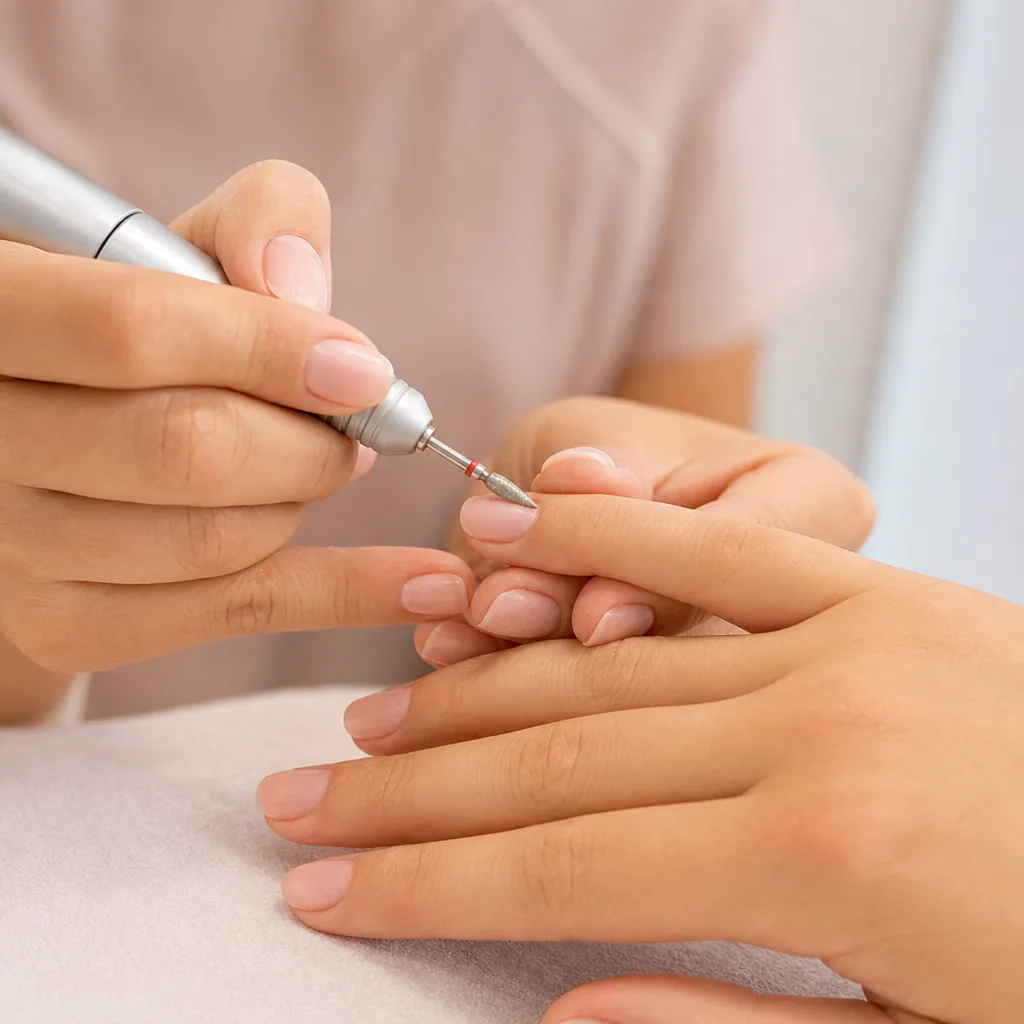
A Russian manicure (also called an e-file manicure, dry manicure or combi manicure) is a technique that focuses on the cuticle area. Instead of soaking the fingers in water and clipping the cuticle, the technician uses an electric file (e-file) with small, specialised bits to:
- lift and remove the dead skin (the “true cuticle”) that sticks to the nail plate,
- clean the side walls and the base of the nail,
- smooth the skin around the nail so it looks neat and even.
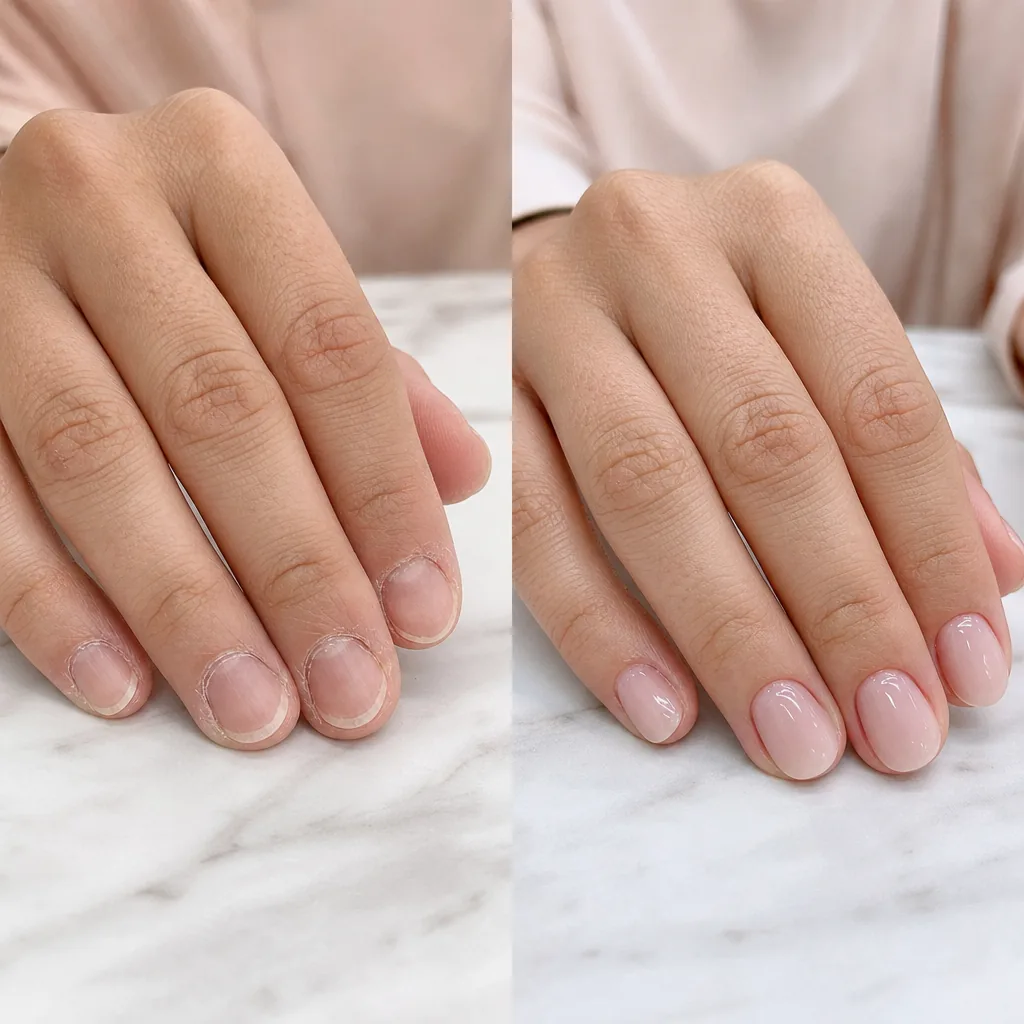
Because the nail plate is completely clean, the polish – usually gel or builder gel – can be applied extremely close to the skin. That’s what creates the signature “grown-out-from-the-skin” look.
Russian manicure vs. classic manicure
| Russian manicure | Classic manicure | |
|---|---|---|
| Water soak | No (dry technique) | Yes |
| Main tool | E-file with fine bits | Pusher, nippers, file |
| Cuticle work | Dead skin removed very precisely | Cuticle pushed back and trimmed |
| Polish placement | Right next to the cuticle | Small gap left at the base |
| Typical duration | 1.5 – 2.5 hours | 30 – 60 minutes |
| How long it looks fresh | Often 3 – 4 weeks | 1 – 2 weeks |
| Price | Higher | Lower |
The trade-off is simple: the Russian manicure takes longer and costs more, but because the finish is so clean, the regrowth is less visible and many people go longer between appointments.
How a Russian manicure is done, step by step
Every technician has their own routine, but a typical appointment looks like this:
- Consultation and hand check. A good technician looks at your nails and skin first. Cuts, infections or very thin nails mean the service should be adapted or postponed.
- Removal of old product with an e-file or by soaking off gel.
- Shaping the free edge of the nail.
- Cuticle work with the e-file. A fine bit lifts the dead tissue from the nail plate, then other bits clean the side walls and smooth the skin. The living skin (the eponychium) should never be cut into.
- Final clean-up of any lifted skin with fine nippers, if needed.
- Nail preparation: dehydrator and primer so the gel adheres properly.
- Base coat or builder gel to strengthen and level the nail.
- Colour applied in thin layers, as close to the cuticle as possible without touching the skin.
- Top coat and finally cuticle oil.
Dayli tip: Ask your technician which bits they use and how they are cleaned. Metal and diamond bits should be cleaned and sterilised between every client – a professional will be happy to tell you how.
How long does a Russian manicure last?
Most people keep their Russian manicure around 3 to 4 weeks. The polish itself can last longer, but your nails keep growing – usually around 3 mm per month – so after a few weeks the regrowth and the balance of the nail start to change. Leaving gel on for too long increases the risk of lifting and of breaks, because the weight of the nail moves forward.
To make it last:
- Apply cuticle oil every day – this is the single most effective habit.
- Wear gloves for cleaning and washing up.
- Don’t use your nails as tools (opening cans, scratching off labels).
- Book your refill before lifting appears, not after.
Is a Russian manicure safe?
Done by a well-trained technician with clean tools, a Russian manicure is a precise and gentle technique. Done badly, it can damage the nail and the skin. The main risks are:
- Cuts and burns from the e-file if the speed, pressure or bit is wrong.
- Over-filing of the nail plate, leaving thin, sensitive nails (“rings of fire”).
- Infection if tools are not cleaned and sterilised, or if the protective skin around the nail is cut.
- Allergic reactions to gel products, especially if gel touches the skin repeatedly.
The technique itself isn’t the problem – the skill and hygiene of the person doing it are. If you feel burning or pain during the service, say so immediately. And if you notice redness, swelling or pus around a nail afterwards, see a doctor.
Dayli tip: Because it uses an electric file very close to the skin, we don’t recommend learning the Russian manicure on yourself at home. If you want to try it, take a proper course and practise on nail tips first.
How to choose the right salon
Before you book, check that:
- the technician has trained specifically in e-file / Russian manicure (ask to see their work, especially close-ups of cuticles),
- tools come out of a sealed sterilisation pouch or are visibly disinfected,
- the station is clean and new files and buffers are used for each client,
- they take time to check your nails before starting,
- photos on their Instagram are real close-ups, not just heavily filtered images.
Best designs for a Russian manicure
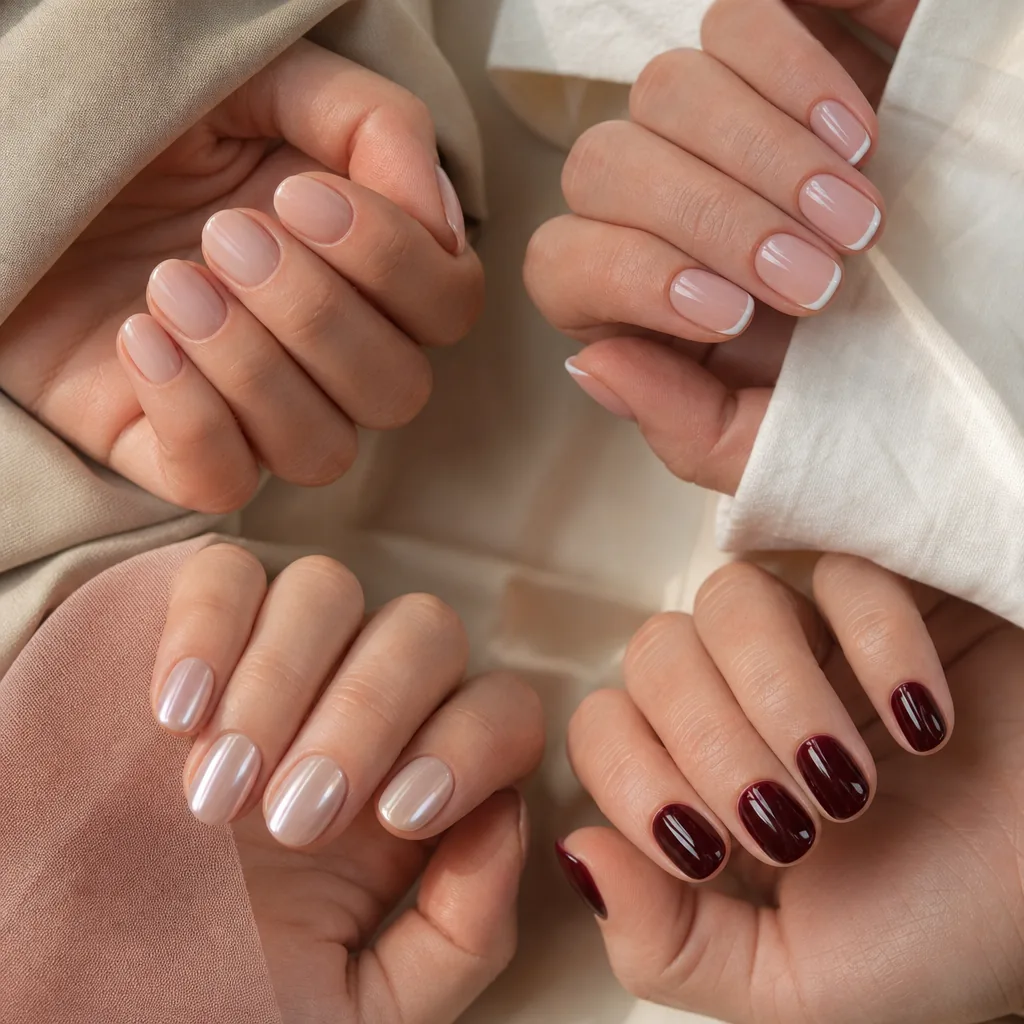
Because the base looks so clean, the Russian manicure suits almost every style, but it really shines with:
- Nude, milky and sheer pink gels – the “clean girl” look where the precision is the star.
- Classic and micro French tips – a crisp smile line looks even sharper on a perfect base. See our French nail designs guide for ideas.
- Chrome and glazed finishes – mirror powders highlight how smooth the nail surface is. Our chrome nail powder guide explains how they are applied.
- Deep, glossy reds and burgundies – any gap at the cuticle would be obvious with dark colours, so this is where the technique makes the biggest difference.
Frequently asked questions
Does a Russian manicure hurt?
It shouldn’t. You may feel a little vibration or warmth from the e-file, but pain or burning means something is wrong – tell your technician straight away.
Can you do a Russian manicure with regular nail polish?
Technically yes, but the result won’t last long. Regular polish chips within days, so most people pair the technique with gel, builder gel or acrylic to get the full benefit.
Is a Russian manicure bad for your nails?
Not when it’s done correctly. Problems come from over-filing, poor hygiene or leaving gel on far too long. Give your nails daily oil and keep regular appointments, and the technique itself is no harsher than any other gel service. If your nails feel weak, read our guide to the healthiest options for your natural nails.
How often should you get a Russian manicure?
Every 3 to 4 weeks for most people. If your nails grow quickly or you have long nails, you may need a refill closer to 3 weeks.
What’s the difference between a Russian manicure and a “dry manicure”?
They are mostly the same thing. “Dry manicure” refers to the fact that no water soak is used; “Russian manicure” is the popular name for the precise e-file cuticle technique that comes with it.
The bottom line
A Russian manicure is all about precision: a perfectly clean cuticle area and colour applied right up to the skin. The result looks polished for weeks – as long as it’s done by a trained technician with clean tools. Take the time to choose your salon carefully, keep up with cuticle oil, and you’ll understand why this technique has taken over nail feeds.
Looking for inspiration for your next set? Follow us for daily nail ideas and browse our nail design guides.